Brickwork is an essential building component that gives durability and strength to the structure. Hence, figuring out how much cement is required to get the right strength and stability is an important part of bricklaying. Read on to know how much cement is required for 1 cubic meter of brickwork. But before you know the brickwork cement requirement per cubic meter, let’s understand what brickwork is, its importance and the required materials.
What is Brickwork & Its Importance?
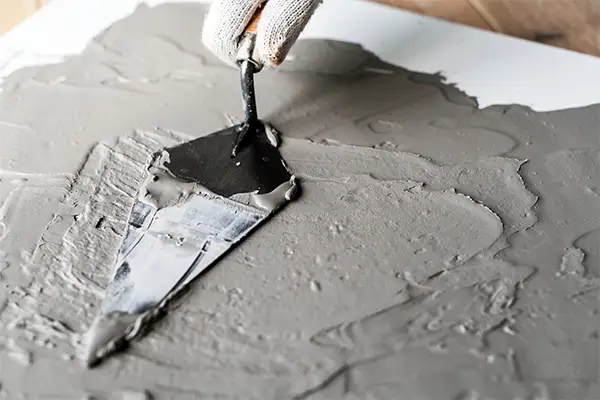
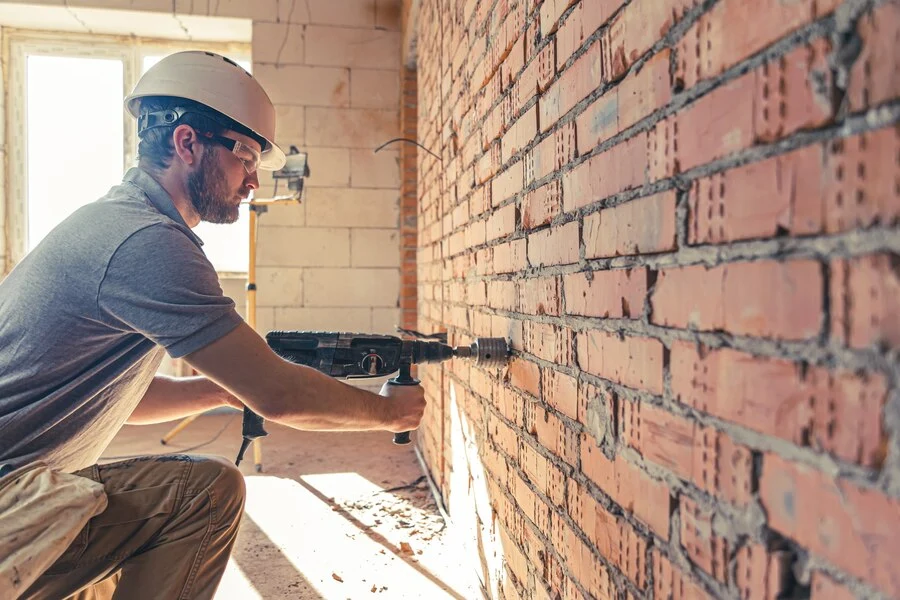
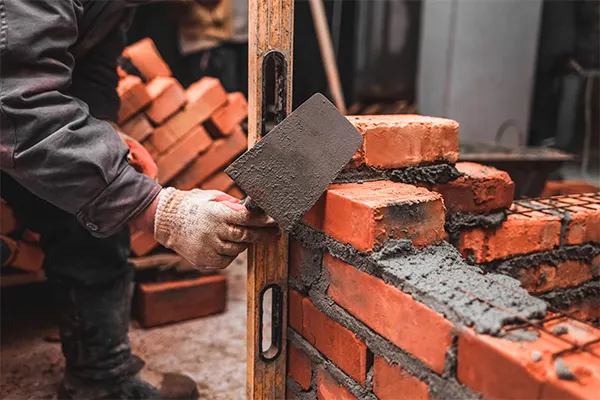
Brickwork is also called brick masonry or bricklaying process. It’s a structural method of construction where a solid structure like a wall is created by arranging the bricks in a methodical pattern and filling the joints with mortar, which can withstand the applied load. It’s an extremely durable construction form. Different types of bricks and mortar are available in the market for the brickwork. Brick masonry relies on a bond that is created when the joints between bricks are filled with the proper mortar. You have to take particular care when mixing and placing mortar because it significantly impacts the functionality and longevity of masonry structures.
Materials Required for Brickwork
You require the following materials for brickwork:
1. Bricks
Bricks are the key component of brickwork, and they come in various types, such as common burnt clay bricks, concrete bricks, sand lime bricks, and more. Standard, modular, and jumbo brick sizes are common for brickwork.
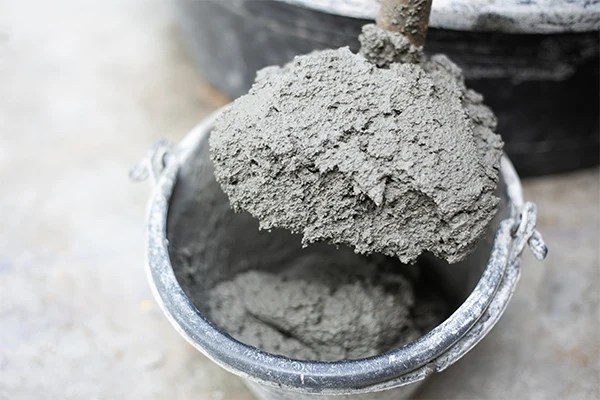
2. Cement
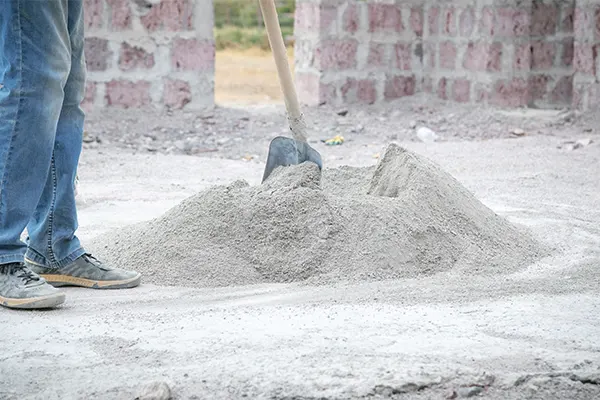
Cement is another important ingredient in brickwork; cement acts as a binding agent when combined with sand to make mortar. Hence, calculating brickwork cement requirement per cubic meter needs careful attention. Depending on your project’s needs, you can use different types of cement, such as Ordinary Portland Cement and Portland Pozzolana Cement.
3. Sand
Sand is essential in mortar because it makes the mixture workable and helps the bricks stick together. However, you must be careful when choosing the type and grade of sand, as it can affect the strength of the mortar and the overall quality of brick masonry.
4. Water
To make mortar, you need water to mix with sand and cement, which helps activate the cement reaction. The right ratio of cement to water is essential for strength.
Brick work mortar ratio
The brickwork mortar ratio is the proportion of cement and sand used to make mortar for bricklaying. Here are the common ratios based on the type of brickwork:
- Load-bearing walls (stronger walls):
- 1:4 or 1:5 (1 part cement, 4 or 5 parts sand)
- This ratio provides greater strength and is typically used in walls that bear structural loads.
- Non-load-bearing walls (partition walls):
- 1:6 (1 part cement, 6 parts sand)
- This ratio is used when the wall is not expected to support heavy loads.
- Exposed brickwork (to resist weathering):
- 1:3 (1 part cement, 3 parts sand)
- This is often used for walls exposed to the elements for better durability.
Each ratio ensures the mortar meets the specific strength and durability needs of the construction task.
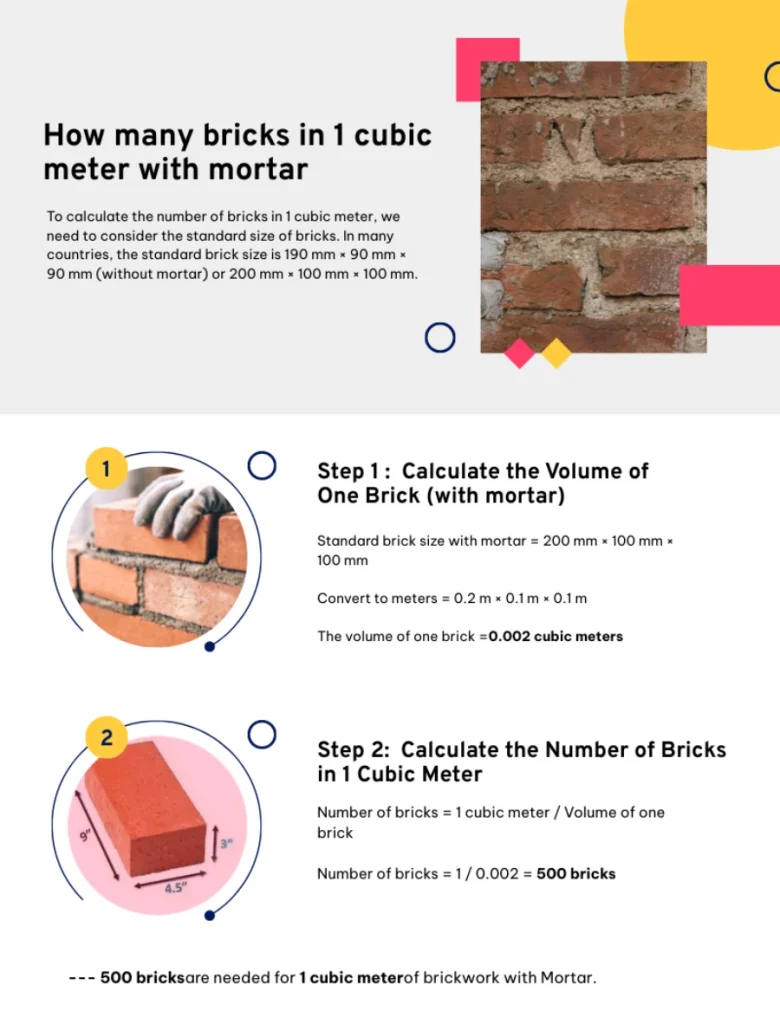
How many bricks in 1 cubic meter
To calculate the number of bricks in 1 cubic meter, you need to consider the size of the brick and whether mortar is included in the calculation. Here’s the general method:
Standard Brick Size:
In India, the standard brick size is 190 mm x 90 mm x 90 mm (without mortar).
- With mortar:
The size typically becomes 200 mm x 100 mm x 100 mm after accounting for the mortar layer.
Number of Bricks Calculation:
- The volume of one brick with mortar:
0.2×0.1×0.1=0.002 cubic meters - To find the number of bricks per cubic meter:
1/ 0.002 = 500 bricks per cubic meter.
You will need approximately 500 bricks in 1 cubic meter, including mortar space.
Calculate Cement for 1 Cubic Meter of Brickwork
To understand the calculation of the amount of cement needed for a 1m3 brick wall, you must know the following things:
- Red Bricks or Cement bricks are typically 190x90x90 mm in size.
- Mortar layers are typically 10 to 12 mm thick.
- Shrinkage factor (an additional 30% of the dry volume) = 1.3
- The mortar-to-sand ratio (using cement: sand) is 1:6 for walls.
- Brick dimensions after adding 10 mm mortar to each side are 200 x 100 x 100 mm, or 0.2 x 0.1 x 0.1 m.
- Cement weight in units of 1440 kg/m³
Calculation of Cement quantity for 1 M3 Brickwork:
The volume of 1 brick without mortar is,
= 0.19×0.09×0.09
= 0.001539 m³
The volume of 1 brick with mortar is,
= 0.2×0.1×0.1
= 0.002 m³
Total number of Bricks with mortar required for 1 m3,
= 1/0.002
= 500 Bricks.
Now,
The Volume of Dry Mortar
=[Total Vol. of Brick Work – Vol. of Total Bricks Without Mortar]
=1m³ – (500 x 0.001539m³)
= 0.2305 m³
Now, Total Volume of Dry Mortar
= Dry Mortar Volume x 1.3
= 0.2305 x 1.3
= 0.29965m³
≈ 0.3 m³
As mentioned above, the Mortar Ratio is 1:6
Hence, the Total Mortar Ratio is = 1+6 = 7
Now, the Total Quantity of Cement
= (Cement Ratio/Total Ratio) x Total Dry Volume x Unit Weight of Cement
= (1/7)x0.3×1440 kg/m³
= 61.71 kg, rounding up 62 kg
Now, if you want to calculate the number of cement bags required in 1m³ brick masonry.
Then, the Number of Cement Bags
= Total cement required cement/ weight of cement in one bag
= 62/50
= 1.24 Bags
How much sand required for 1 cubic meter brickwork 1:6
Calculation of sand required for 1 cubic meter of brickwork 1:6
Step 1: Understand the Mix Ratio
Mix Ratio: 1:6 means 1 part cement and 6 parts sand.
Total Parts: 1 (cement) + 6 (sand) = 7 parts
Step 2: Calculate the Dry Volume of Mortar
The volume of mortar needed for brickwork is more than the wet volume, so we increased it by about 30% to account for shrinkage and wastage.
- Dry Volume of Mortar = 1 cubic meter (the volume of brickwork) × 1.30 = 1.30 cubic meters
Step 3: Calculate the Volume of Sand
Now, we calculate how much sand is required based on the mix ratio.
- Volume of Sand = (Dry Volume of Mortar) × (Sand’s part in the mix ratio) / (Total parts)
- Volume of Sand = 1.30 cubic meters × 6 / 7
- Volume of Sand = 1.114 cubic meters
Step 4: Consider Bulking of Sand
When sand is measured, bulking occurs due to moisture, and it’s usually considered by increasing the sand volume by about 25-30%.
- Bulking Factor: Let’s use 1.3 for a 30% increase due to bulking.
- Corrected Volume of Sand = 1.14 cubic meters × 1.3
- Corrected Volume of Sand = 1.482 cubic meters
For 1 cubic meter of brickwork with a 1:6 mix ratio, you need approximately 1.5 cubic meters of sand (Approx).
Factors Affecting the Cement Quantity for 1 M3 Brickwork
1. Types and Size of the Bricks
Brick masonry requires different types and sizes of bricks, which require varying amounts of mortar for proper bonding and finishing. The mortar-brick ratio also influences the cement requirement.
2. Mortar Mix Ratio
The amount of water, sand, and cement in the mortar mix significantly impacts the strength of the brickwork. A typical mix ratio is 1:6 (1 part cement to 6 parts sand). However, this can change depending on the location and requirements of your project.
3. Thickness of Mortar Joints
The thickness of mortar joints is very important to determine the overall volume of mortar used. If you choose a thinner joint, it requires less mortar, but if you choose a thicker joint, it demands more quantity of mortar.
4. Consideration of Wastage and Workability
The cement requirement also depends on the workability and wastage of mortar during construction. Because if the workability is good and wastage is low, it reduces the need for mortar.
Conclusion
In summary, brickwork is an essential component of construction. Hence, to ensure the structural integrity of brickwork, you require a basic knowledge of calculating the cement quantity for 1 m3 brickwork. Numerous factors affect the calculation process, including mortar ratios, thickness, type, and size of the bricks, etc. So, by considering these factors, you can balance strength, cost-effectiveness, and sustainability in brick masonry projects to optimize cement usage. However, it’s always recommended to consult professionals like Brick & Bolt for the exact material estimation for your dream construction project.