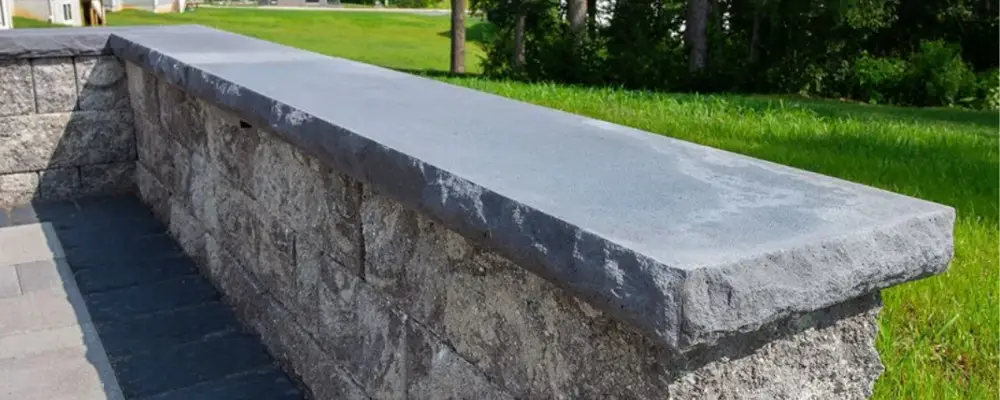
Wall caps are protective coverings or finishing elements that are placed on top of a wall to enhance the appearance and provide protection against rain, snow, and sun. They are primarily made of stone, concrete, brick, metal, or other designed substances to achieve decorative and functional properties. This blog will help you understand wall caps in detail.
Benefits of Installing Wall Caps
Weather Resistance
Wall caps provide excellent protection against rain, snow, and other extreme weather conditions, reducing the potential damage such as wear, freeze-thaw, and erosion. This increases the lifespan and durability of the wall surface.
Moisture Control
Sealing the top portion of the wall reduces the water ingress into the wall, preventing potential damage to the structural integrity. It helps in using the wall caps on retaining walls or garden walls, where moisture control is crucial.
Aesthetic Appeal
Wall caps can be prepared by using various materials and finishes such as stone, brick, concrete and more. The customisable option, variable styling, and design pattern enhance the overall appearance of the wall.
Increased Safety
Wall caps with a smooth and finished edge seal the sharp and rough edges of the brick wall. They prevent the risk of injury, especially in places where children and pets frequently traffic.
Low Maintenance
Walls with caps are easy to maintain, as they provide the necessary protection against all forms of dust, stains, and moisture accumulation. The enhanced protection requires less maintenance, and reduces the frequency of repair, thereby reducing the cost of maintenance.
Types of Wall Caps
Flat-Top Wall Cap
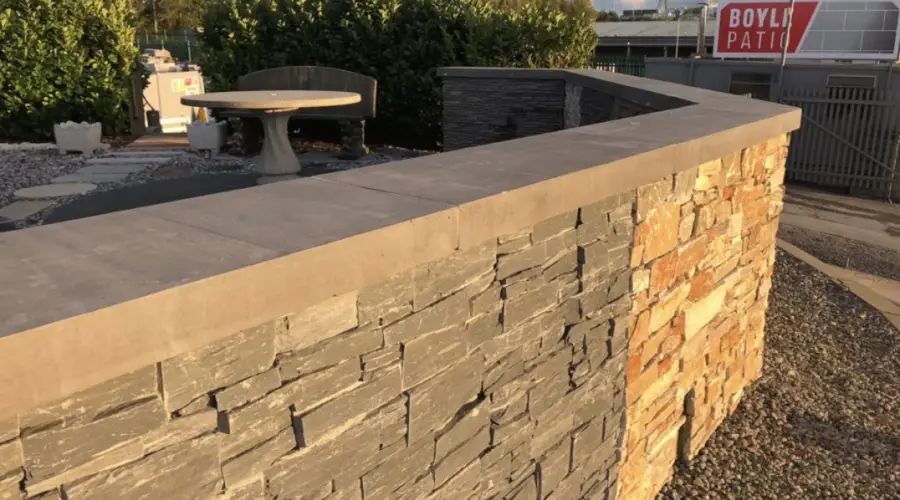
A flat-top wall cap has a level surface that provides a clean and modern look to the walls. They are highly effective in providing adequate protection against weather and moisture and also enhance the aesthetics. It is a simpler form of cap and can fit a wide range of walls. They are made from various materials such as concrete, stone, and brick.
Feather Edged Wall Cap
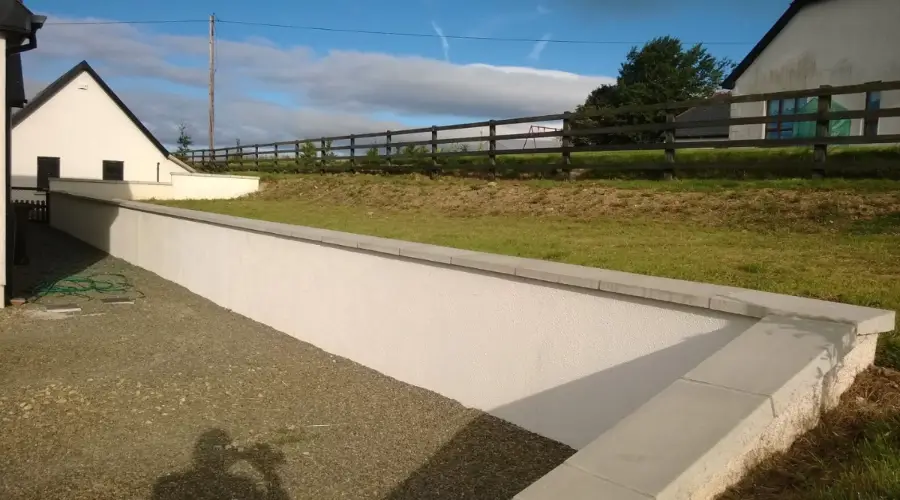
The feather-edged wall cap offers a slightly tapered edge with a smooth and organic look. Their edges are gently sloped downwards, mimicking the natural lines of stones, and are helpful in water runoff. This wall cap design is suitable for creating a more rustic and traditional look in gardens and landscaping.
Saddle Back Wall Cap
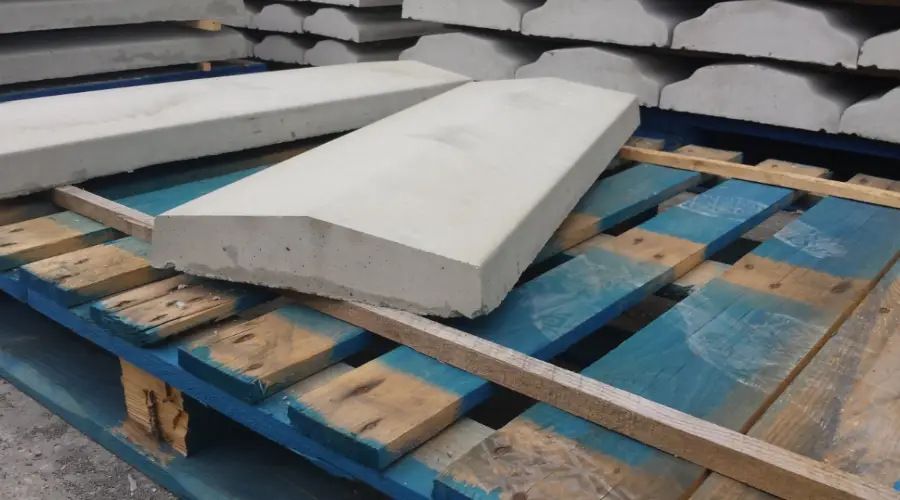
This wall cap provides a more distinct, curvy shape with an arch formation in the middle and raised edges. They are highly effective in draining rainwater accumulation and add a more decorative and elegant touch to retaining and garden walls.
Single Chamfered Wall Cap
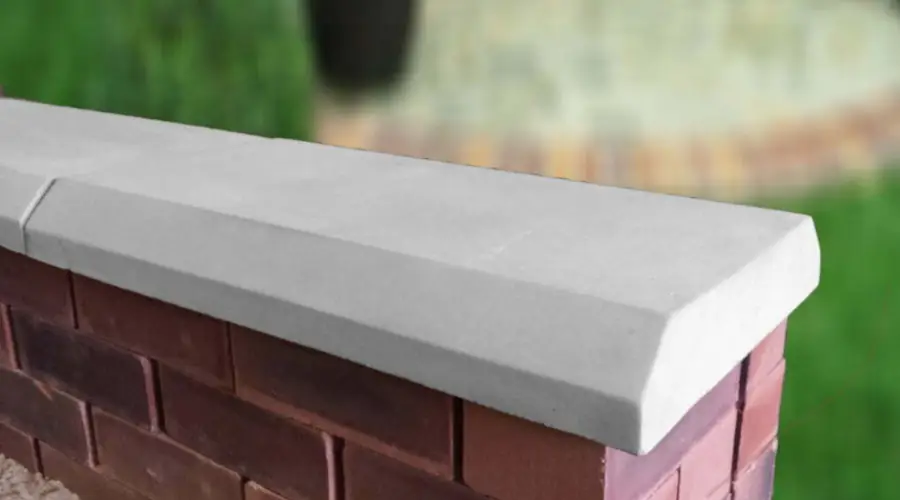
A single chamfered wall cap has a bevel along the edge of the top and on the side, making it more angular, and soft in looks. They are ideal for directing water away from the wall and provide a contemporary and classic look.
Tiered Wall Cap
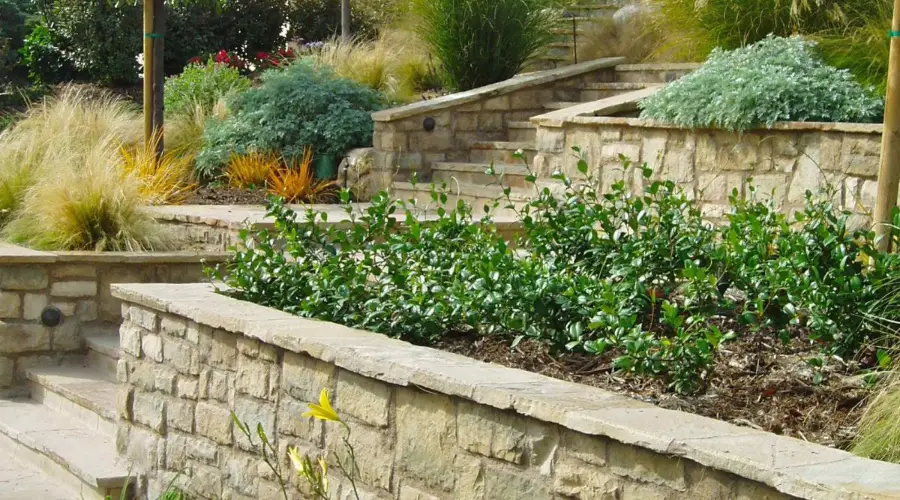
As the name suggests, tiered wall caps have multiple tiers or levels, creating a more sophisticated and unique look to the wall. It adds more height and dimension to the wall, balancing the proportions and elegance. It is suitable for garden walls and landscapes with dramatic effects.
Choosing the Right Wall Cap
Materials
The materials used for wall caps depend on the aesthetics, budget and overall span of the wall. Natural stone, concrete, brick, and wood are some of the most common materials used for wall caps.
Natural stones such as limestone, granite, or sandstone offer a premium look for the wall cap. Construction bricks create a cohesive design blending with the walls. Precast concrete caps provide a more modernized and unique look.
Aesthetics
Wall caps provide enhanced looks to the walls with clean and finished edges. They come up in a variety of shapes, colours, and textures, to complement the overall design of the landscape. Choose the right wall cap, that complements the overall design of the wall or building.
Size and Profile
The size and profile of the wall play a crucial role in determining the choice of wall caps. It is important to choose the cap that fits the dimension and profile of the wall, to ensure that they are perfectly fit, for a pleasing appearance.
Installation Method
The installation methods of certain wall caps are complex, as they demand specialized installation techniques, skilled labour, and certain tools and adhesives. Therefore, it is vital to follow the manufacturer’s instructions, before choosing the right wall cap.
Budget
Consider overall budget for construction needs to be considered, as wall caps consume money in both materials and installation. The material cost varies based on the category and availability. Thus, it is necessary to choose the materials based on the budget requirements.
Maintenance Requirements
Choosing wall cap materials that are easy to clean and maintain is essential for a long life. Smooth, and flat surfaced caps are easy to clean, compared to caps with complex and more intricate designs.
Installation Process
Preparing Wall Surface
It is mandatory to prepare the surface of the wall to ensure the perfect fit and finish of the wall caps. The top of the wall should be clean, and free from dust, debris, and dirt. The top surface should be even, and free from chips and cracks, ensuring a perfect installation.
Mixing and Applying Adhesive
After preparing the surface, prepare the mortar or adhesives in an appropriate mix ratio, based on the types of materials used. Apply the adhesive in a thin layer onto the top of the wall, based on the manufacturer’s instructions.
Positioning the Cap
After the application of adhesive, the wall cap is positioned carefully on top of the wall. The cap is then gently pressed down to ensure good adhesion, and fill the gap between the cap and the wall. Use a rubber mallet to tap over the cap, to position and leveling the cap.
Grouting
If necessary, use grouting materials to seal the joints between the cap and the wall. This can prevent the wall from water ingress and other moisture damage.
Curing
Allow the mortar or adhesive to cure for at least one or two days, depending on the adhesives, before using it for functional purposes.
Maintenance and Care
- While wall caps protect the walls from potential damage, regular inspection at least once or twice a year is recommended. Some of the most common flaws to look for in the inspection include cracks, loose caps, efflorescence, erosion, and mould.
- The cleaning of the surface should be done regularly to remove first, dust and debris deposition. It can be rectified by cleaning using a soft brush with mild soap and water.
- If the inspection notices any damages, the damaged portion can be repaired to prevent further deterioration.
- Waterproofing and grouting can be done regularly to prevent potential water damage.
- Remove efflorescence deposits using a water and vinegar solution and brush over it carefully, avoiding damage to the surface.
Conclusion
Wall caps are decorative elements that combine the functionality and aesthetics of any wall. They provide necessary protection to the wall and act as a support in enhancing the support, looks, and durability. There are various types of wall caps based on the materials and design, and it is necessary to understand which type could be the best fit for your walls.

