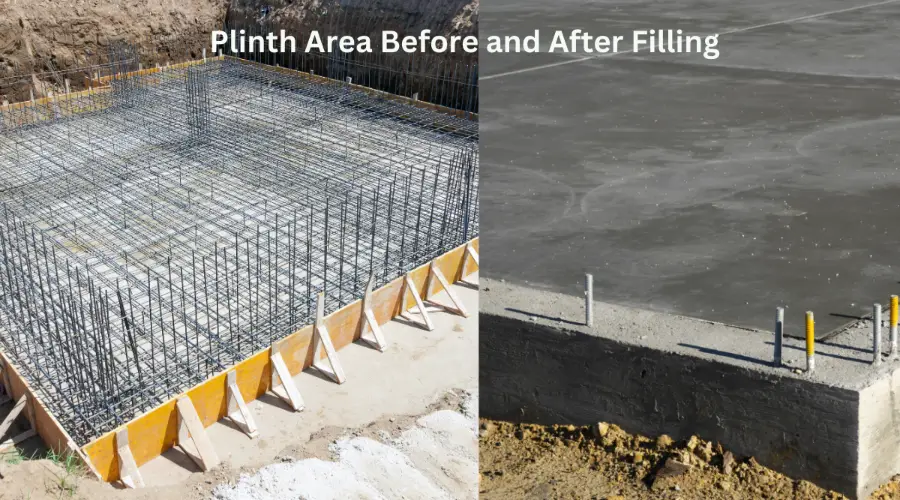
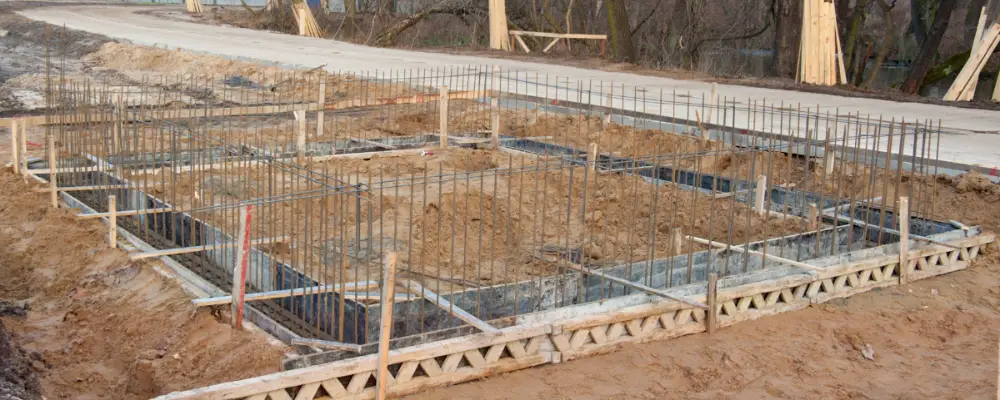
The plinth is a foundation’s visible face that plays a major role in the construction and architectural design. It is the place where the underlying foundation connects with the overlying superstructure. It distributes the structural loads evenly on the foundation and also helps to provide an aesthetic appearance to the building. As the plinth plays a major role in the integrity of the building, the plinth filling provides the necessary stability.
What is Plinth Filling?
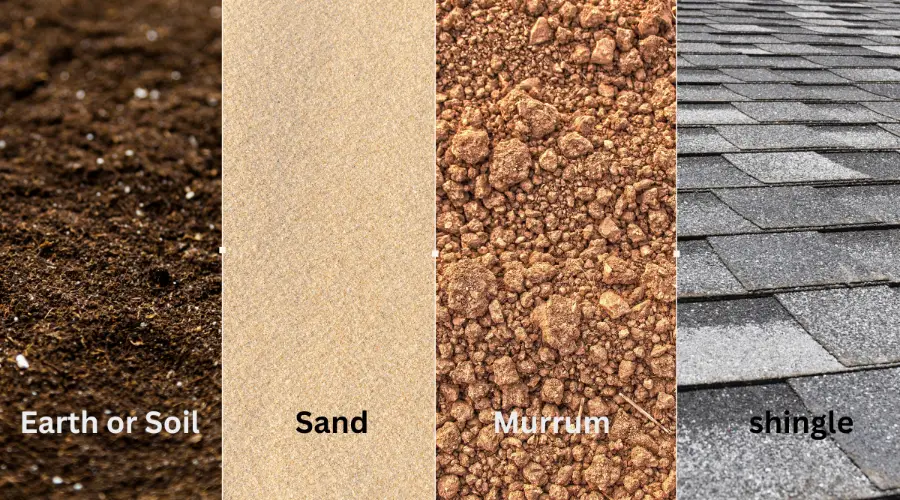
Plinth filling is the process of filling the plinth area of the foundation with materials either excavated from the ground or from outside. The filling process is done to provide stability and support to the building’s foundation, minimise structural issues, and improve soil compaction. Soil, rock, aggregates, murrum, shingle, sand, and other materials can be used for plinth filling.
Benefits of Plinth Filling
- Strengthens the Foundation: Plinth filling enhances the strength of the foundation. It provides a strong base that will help in the load-bearing capacity of the building and helps the structure to stand for a long period of time.
- Provides Essential Support: Refilling the plinth area with compacted soil and properly damping it ensures the foundation can withstand external forces, keeping the structure rigid and secure.
- Increases Stability: Studies have proven that buildings that are properly filled are more stable and capable of holding heavier loads compared to foundations that are not properly compacted.
Step-by-step guide to the Plinth Filling Process

Cleaning & removing water
Once the plinth foundation of the building is laid and completely cured, the plinth area is cleaned and water within the plinth is removed.
Spreading the soil
After cleaning the plinth area, the construction soil is spread within the plinth at 15 to 30 cm thickness based on the type of compactors used. Whether using manual rammers or mechanical compactors, the thickness of the soil layer should not be more than 30 cm, to achieve proper compaction.
Watering
After the first layer of soil is spread, water is sprinkled all over the plinth until it attains adequate moisture content suitable for compaction.
Compacting
After sprinkling the water, the soil is rammed either using a manual rammer or using a mechanical compactor. Mechanical compactors are more efficient compared to manual compactors. For commercial constructions, it is advisable to take a density test to achieve maximum dry density.
Layering, Watering & Compacting (Repeat)
After compacting the first layer of the soil into the plinth, the soil needs to be spread layer-by-layer, not crossing 30 cm thickness from the previous layer. The soil filled is again sprinkled with water and compacted using a compactor. This process continues for three to four layers until the plinth is refilled with soil.
Types of materials used in Plinth Filling

Earth or Soil
The soil that is excavated while laying the plinth foundations is generally refilled into the plinth. In other cases, other soil types from quarries and other external soils can be used as a filler, except the black soil, which has high expansion properties and is not suitable for filling. The soil used for the filling should be free from organic materials and clods more than 50mm.
Sand
Sands can be used as a plinth filler; however, the sand should be clean and free from dust, organic, and other alien particles. The sand should not contain more than 5% clay or silt.
Murrum
Murrum is a red soil that is available in humid tropical and equatorial zones. They are widely used as fillers in plinths and backfilling. They can be compacted easily and can be made into hard surfaces.
Shingle
Shingles or pebbles of size ranging from 4.75 mm to 40 mm can be used for plinth filling along with a fine material, to fill the interstitial spaces. The shingle used should be clean and free from foreign matters, that are obtained from river or canal beds.
Factors to consider during Plinth Filling
Numerous factors need to be considered, before filling the plinth area, some of the key factors include:
Concrete Works
All the concrete structures such as footings, columns, and plinth beams should be removed from the formwork and the honeycombs or cavities in the structure should be repaired, before the filling process.
Plinth Masonry
The plinth area should be completed with internal plasters, or by filling the joints, such that the plinth is free from any cracks or unconnected joints.
Curing Period
It is mandatory to ensure that all the concrete structures and masonry works are completely cured before the filling. Filling before the curing process could affect the strength and stability of the structure.
Cleaning & Dewatering
The plinth area and the footing should be clean and free from water content or any other moisture. Any organic matter, logs, and roots should be removed, as they could decay over the years and create voids, which weaken the compactness.
Soil Test
The soil that is used for filling should be tested to remove the organic matter, plant roots, pebbles, clogs, and chemical matter, which could affect the structure. The soil that is more than 50 mm should either be broken or removed to achieve complete compaction.
Excavated Soil
If the soil excavated from the plinth area and footing is black soil, it should be completely removed. The black soil is not suitable for construction, as they have expansion properties. It is recommended to conduct an in-situ test before construction in those places.
Conclusion
Plinth filling is a crucial process that helps the foundation and the overall structure enhancing strength and stability. By choosing the right filling materials and performing compacting techniques effectively, the building can achieve maximum stability to withstand for a long period of time. It is essential to keep the factors in mind and execute the process under expert supervision to build a strong and long-lasting structure.

